Before You Hit Record
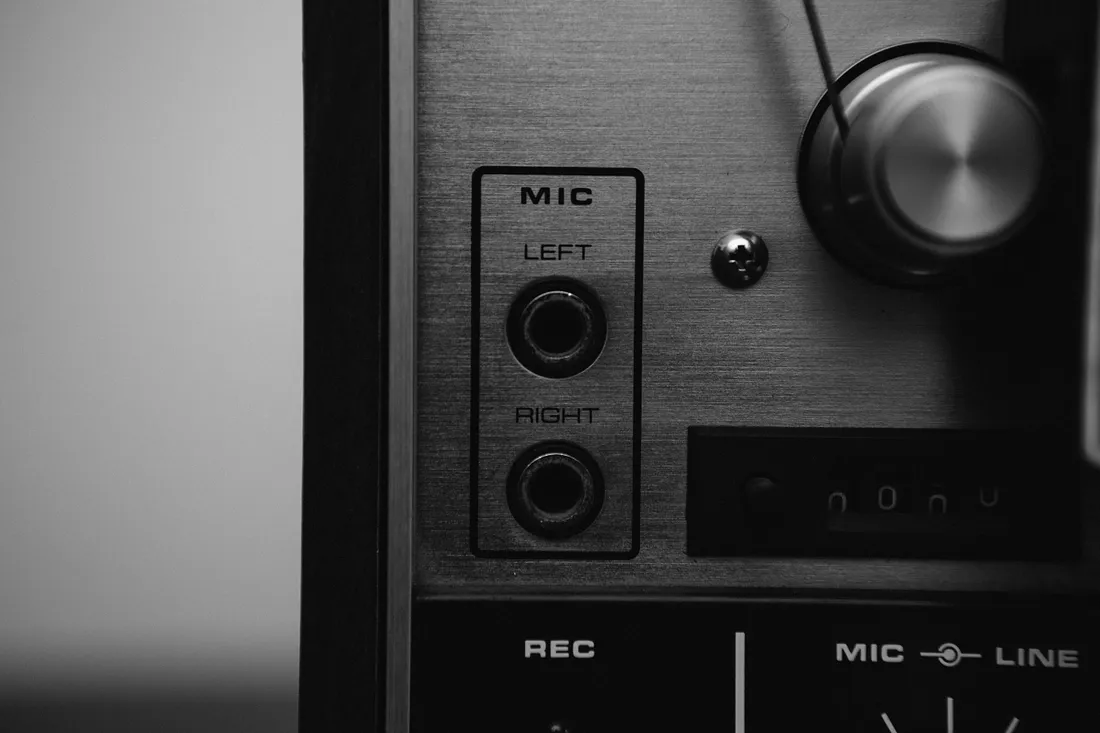
Microphones seem very simple to use. You point it at the sound source, set an appropriate gain level, and just hit record, right? Well, you’ll be capturing something, but getting to know your microphone and how to use it will yield the best results possible for you and your audience.
The first thing to consider is the type of microphone that you have. Most likely you’ll be recording with a dynamic microphone or a large-diaphragm condenser microphone.
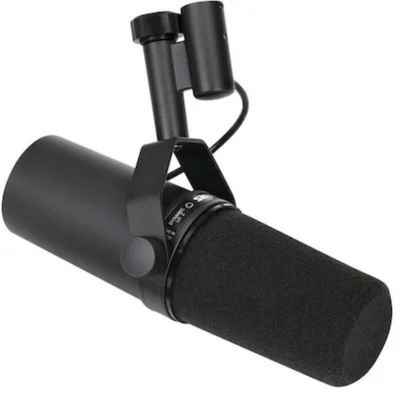
Dynamic microphones are quite robust and have a passive circuit, which makes them less sensitive than other types of mics. They have famously been used for recording loud sound sources such as guitar amps, close-miking drums, live vocals, and for broadcast. The Shure SM7B is a classic dynamic that I think most people in radio and podcasting would recognize. Because dynamics are less sensitive, they can be great for recording in spaces that might not be treated (not acoustically treated, a lot of reflective surfaces such as a cinder block wall or big windows).
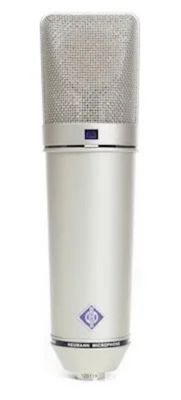
Condenser microphones, on the other hand, require phantom power. This is a constant 48V sent from your mic preamp or interface to your microphone through the XLR cable. Because of its active circuit, condenser microphones tend to be much more sensitive. They will pick up much more room ambiance, mouth noises and be more prone to pesky, popping, P’s that sound designers know so well. If you do use a condenser microphone, I highly recommend making sure you’re in a well-treated room, with little to no background noise because these microphones will hear it all. Condenser microphones make great studio capturing devices as they are often highly detailed and clear. One of the most widely used condensers is the Neumann U87, used for dialogue in film and TV, and used to record almost every instrument under the sun.
The second thing that is heavily overlooked when it comes to microphone usage is your microphone’s polar pattern. A polar pattern is just a graph of a microphone’s sensitivity versus the angle of the incoming sound. Speaking directly into a microphone would be speaking into it at zero degrees and depending on the mics polar pattern, the angle in which you speak alters the tone of the mic. All microphones have a polar pattern, some even have switchable polar patterns using a button or switch on the actual microphone. Knowing the polar pattern of your microphone can help you get the best sound possible. You can usually find a microphone’s polar pattern on the manufacturer’s website or in your user manual.
The two most common polar patterns you’ll likely encounter:
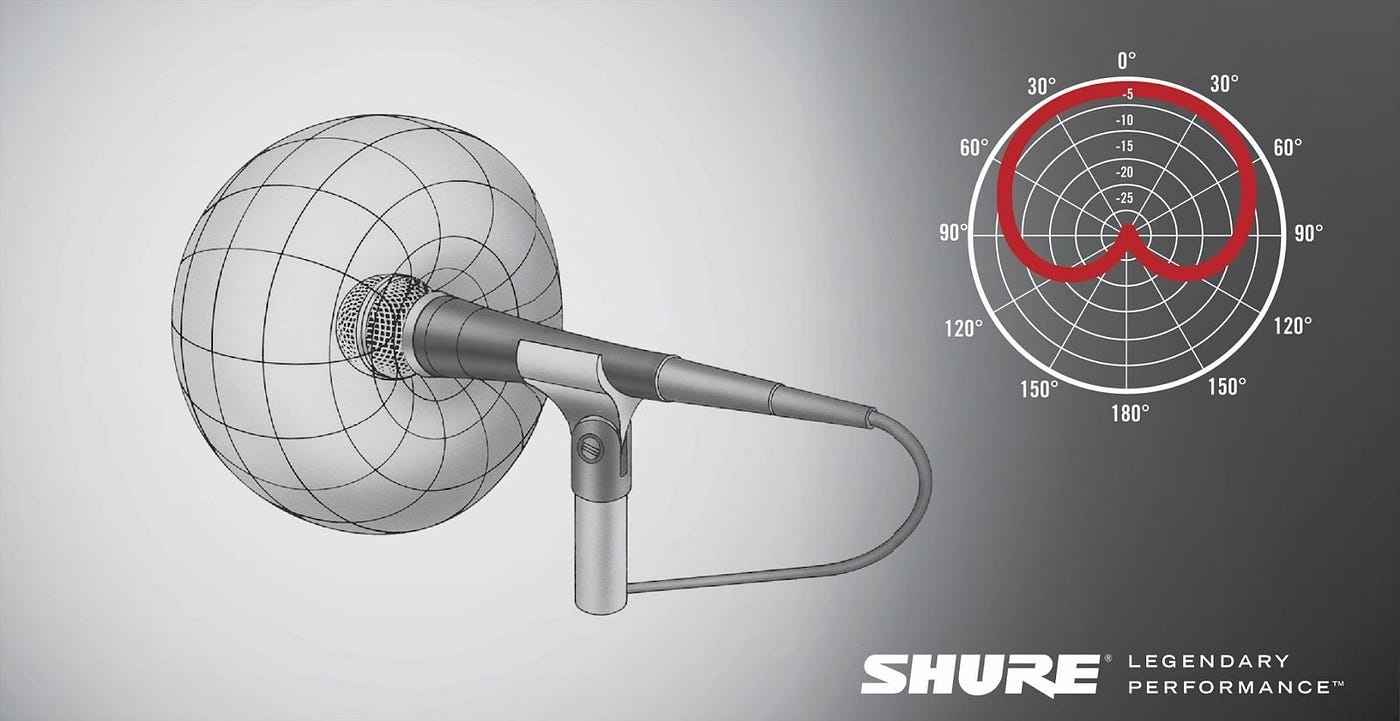
Cardioid: This polar pattern gets its name from its heart-like shape. It’s a very common polar pattern that most dynamic and condenser microphones have. Some variations of this pattern include hyper-cardioid (a personal favourite), which is much more focused, and wide-cardioid, which, you guessed it, receives a signal on a slightly wider angle.
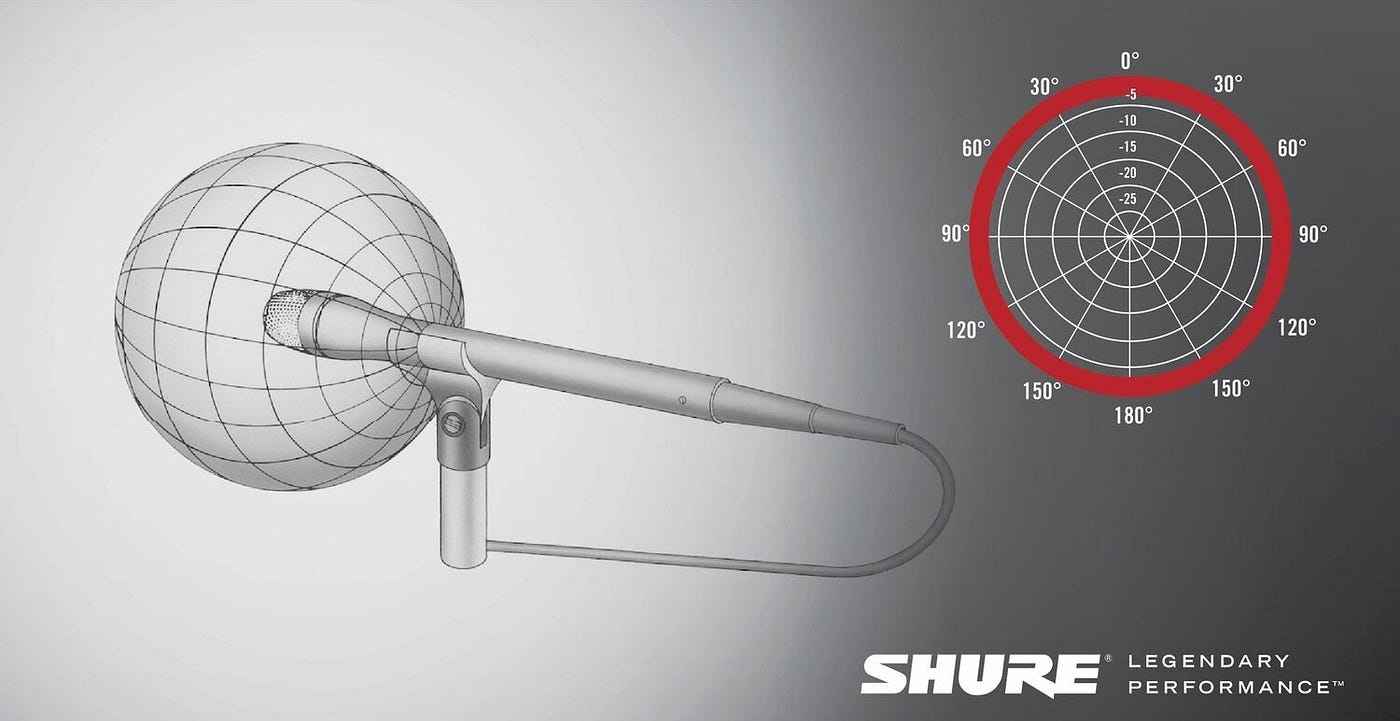
Omnidirectional: This polar pattern can seem a little silly, why would you want to use a microphone that receives signals from every direction? True Omni microphones use a diaphragm that is called a pressure transducer, and the way that it receives a signal, the proximity effect does not occur! The proximity effect is the increase in a microphone’s low-frequency response when it is close to the sound source. So, if you have a well-treated space, an Omni microphone would be great if you had a tendency to move around while speaking or if you speak very quietly but still want a clear and full-sounding voice. The downside obviously is that if there is room noise, it will be much more present.
I encourage everyone who uses a microphone on a regular basis to get to know it well! The more knowledge you have about the gear you use, the better you’ll be able to use it.
Here are a few extra tips for actually speaking into your microphone.
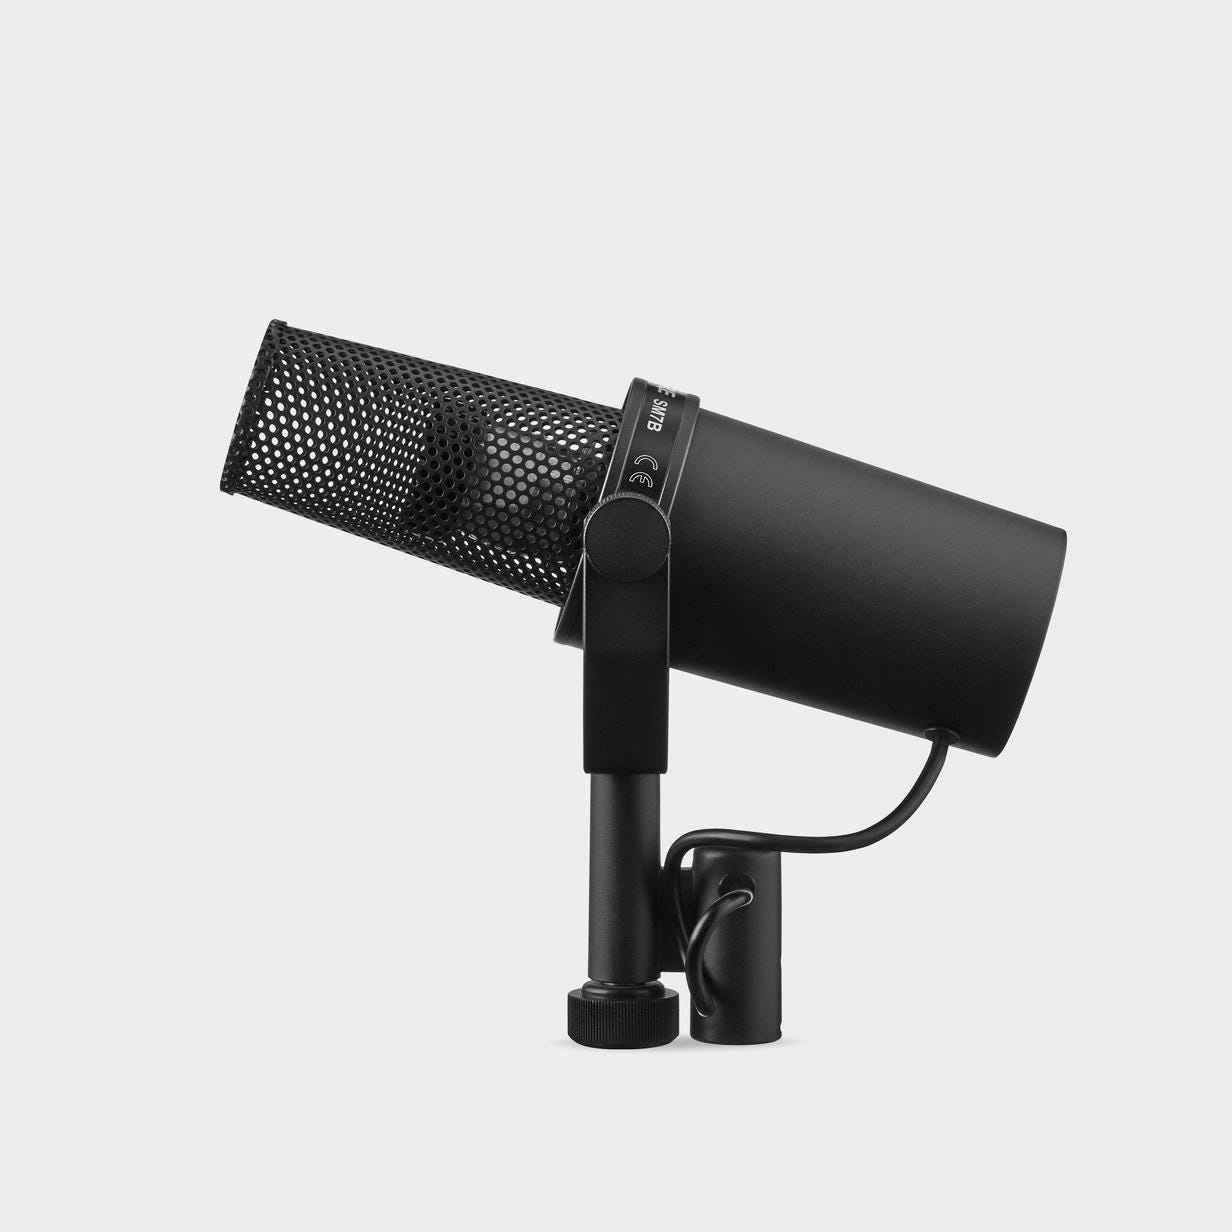
- Find the appropriate distance from your microphone. Typically microphones sound great around 4–5 inches away from the diaphragm, but the diaphragm differs from mic to mic. As you can see in this image, the diaphragm in a Shure SM7 is about halfway down the outside grate, so you’ll actually just want to be 2–3 inches from your microphone.
2. Focus on the axis! Spend a few minutes recording yourself speaking into the microphone from different angles. I can almost guarantee that you will sound the best speaking into it head-on. You’ll notice how much the tone of the microphone changes when you speak into it off-axis. My fellow sound designers will understand me here, when a guest veers off the mic for a second, it’s really not as simple as clip gaining that section up. It often sounds extremely different and can be really jarring to a listener.
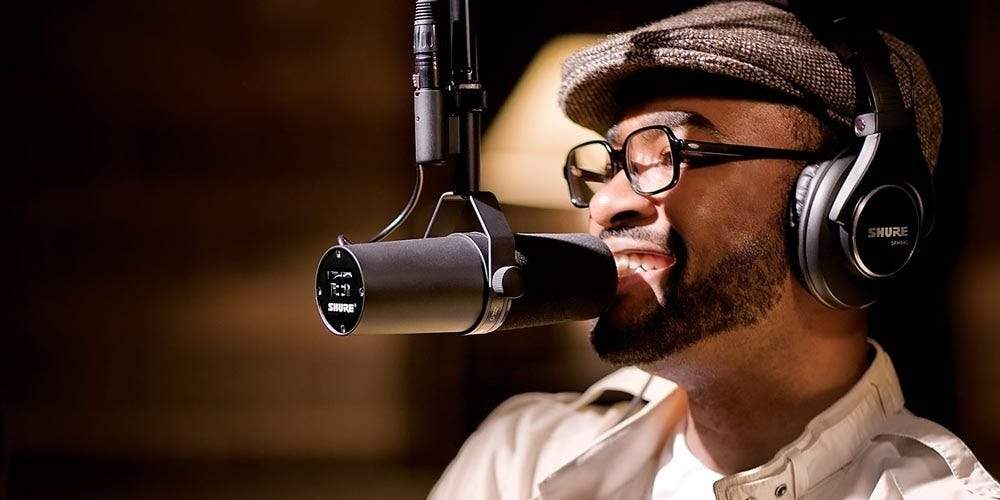

3. Don’t be afraid to double up on pop filters. If you feel like your P’s and B’s are still extraordinarily loud, even when using proper technique, doubling on pop filters is a great idea.
4. Lastly, the best practice is to practice. Speaking into a microphone is a skill in your arsenal just like any other that deserves to be practiced and exercised.
I hope some of this practical theory and tips have inspired you to spend some time with your microphone and motivate you to sound your best.
Sign up for the Pacific Content Newsletter: audio strategy, analysis, and insight in your inbox.
